
1. Introduction
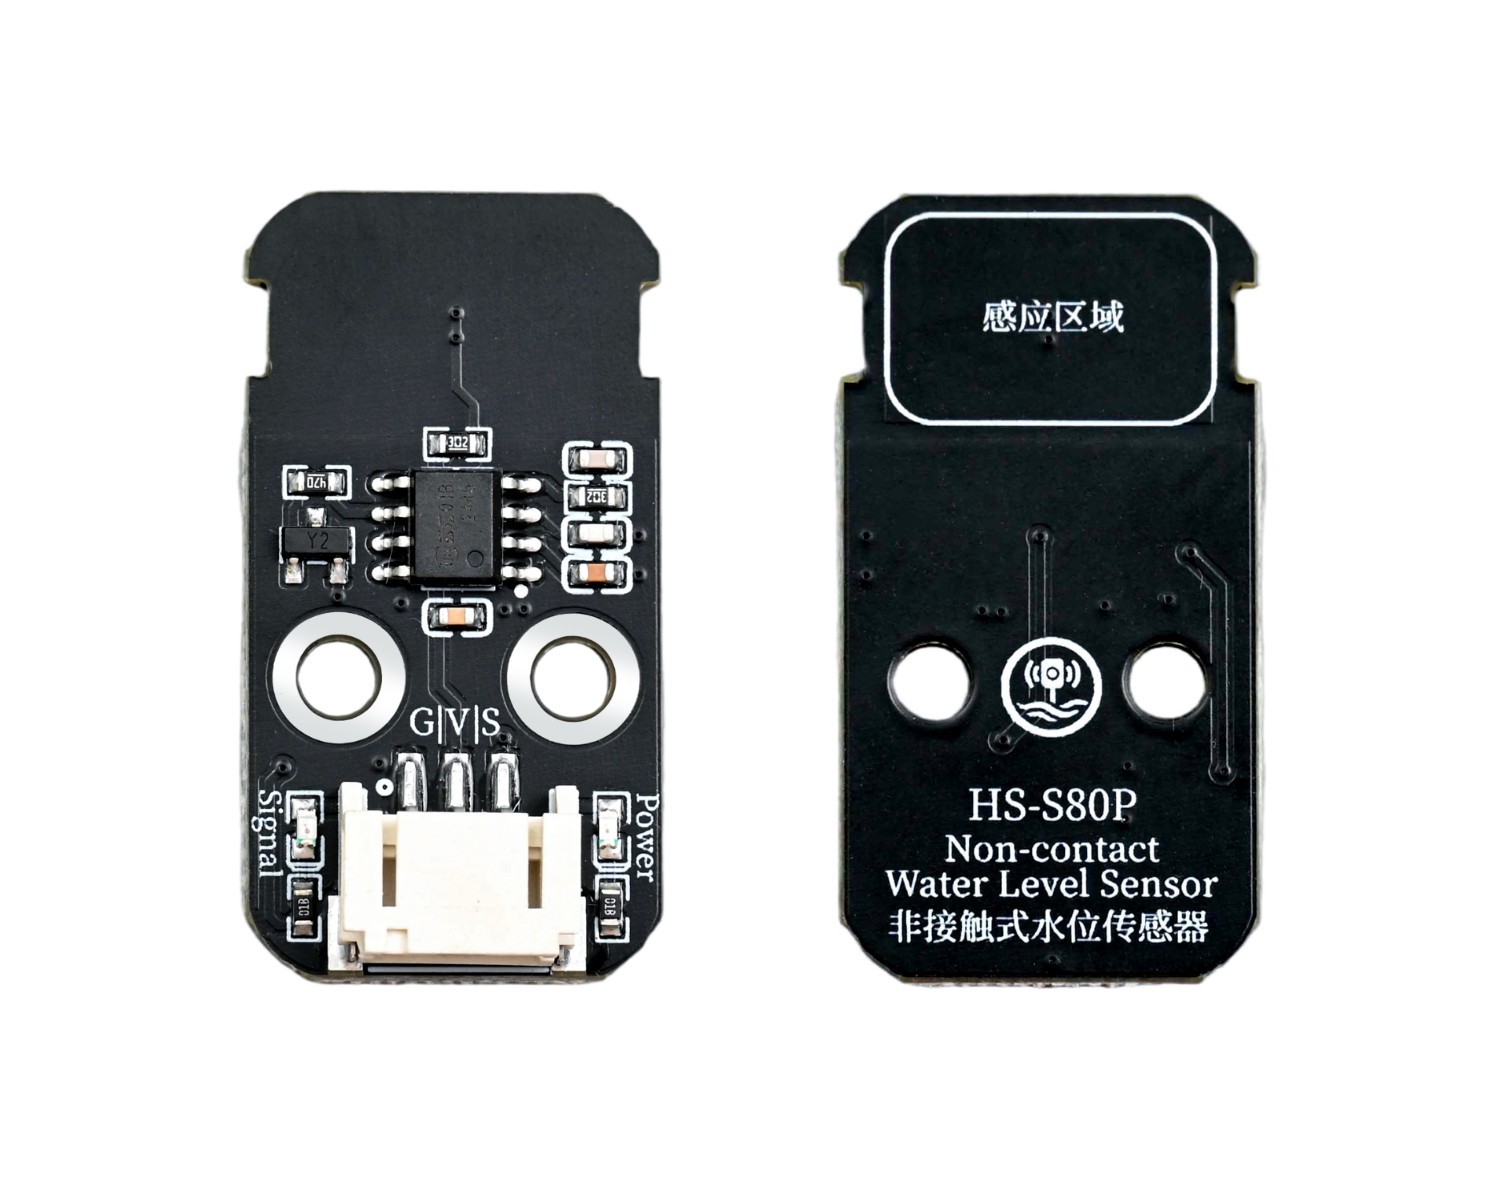
Water level sensors are designed specifically for depth detection without direct contact with the water to be measured, and can accurately detect the presence or absence of water level, liquid level height, and water level threshold alarm through the walls of non-metallic containers such as glass, plastic, and ceramics. This is the core function of the sensor, solving the pain points of contact sensors that are prone to corrosion, scaling, and clogging.If you want to know the water depth, we directly place the sensor detection area on the outer wall of the container part, and detect the position of water during the module's movement. When there is water, the simulated value is 0, and when there is no water, the simulated value is 1, thereby measuring the water level.
2. Schematic
HS-S80-P Non-contact Water Level SensorPending update...
Module Parameters
Pin Name | description |
|---|---|
G | GND (Negative Power Input) |
V | VCC (Positive Power Input) |
S | Digital Signal Pin |
Power Supply Voltage: 3.3V / 5V
Connection Method: PH2.0 Terminal Wire
Installation Method: Double Screw Fixed
4, Circuit Board Size

5 of Arduino IDE example program
Attention: If prompted with an error message about the library file during program upload, please import the library file first!
Arduino IDE Library Download and Import Tutorial:Click to view
Example program (UNO development board):
ivoid setup(){
  pinMode(2, INPUT);
  Serial.begin(9600);
}

void loop(){
  Serial.println(digitalRead(2));
  delay(500);

}
6, ESP32 Python Example (for Mixly IDE/Misashi)
Choose the development board Python ESP32 [ESP32 Generic(4MB)] and upload in code mode
Attention: If prompted with an error message about the library file during program upload, please import the library file first!
Download and import tutorial for Mixly IDE ESP32 library:Click to view
Example program (ESP32-Python):
7, Mixly example program (graphical language)
Example program (UNO development board):Click to download
Attention: If prompted with an error message about the library file during program upload, please import the library file first!
Download and import tutorial of Mixly IDE Arduino library:Click to view

Example Program (ESP32 Development Board):Pending update...
Attention: If prompted with an error message about the library file during program upload, please import the library file first!
Download and import tutorial for Mixly IDE ESP32 library:Click to view
8. Setting up the Test Environment
Arduino UNO Test Environment Setup
Prepare Components:
HELLO STEM UNO R3 DEVELOPMENT BOARD *1
HELLO STEM UNO R3 P EXPANSION BOARD *1
USB TYPE-C DATA CABLE *1
Non-contact water level sensor (HS-S80-P) *1
PH2.0 3P dual headed terminal line *1
Circuit wiring diagram:
ESP32 Test Environment Setup
Prepare Components:Pending update...
Circuit wiring diagram:Pending update...
9, Video tutorial
Arduino UNO video tutorial:Click to view
ESP32 Python Video Tutorial:Click to view
10, Test results
Arduino UNO test results:
After the device is connected to the wire, upload the above program to the UNO R3 PRO development board, and the light will turn on when the module contacts the liquid surface.
ESP32 Python test conclusion: